Fruity pebble rice crispy treats offer a colorful and delightful twist on the traditional snack, combining the vibrant flavors of Fruity Pebbles cereal with the gooey texture of marshmallows and butter. This no-bake dessert, created by various authors including Dorothy Kern and Nichole, as well as being a variation perfected through extensive taste testing by Beth Klosterboer, stands out not only for its ease of preparation but also for its adaptability to different Pebbles cereal flavors . With each bar packing approximately 114 calories and made with fresh ingredients for the best taste, these treats are not just a fun afternoon snack but also a hit at any party .
As a modified recipe of the original gooey rice krispie treats, these fruity pebbles krispie treats not only maintain the perfect balance of butter, marshmallows, and cereal but also introduce a vibrant, no-bake option for cereal treat bars. This article will explore the ingredients and steps necessary to craft these irresistible bars, catering to anyone seeking a colorful and fun treat for parties or snacks .
Ingredients Overview
To create the best fruity pebble rice crispy treats, it’s essential to gather all the ingredients beforehand. This ensures a smooth preparation process. Here’s a breakdown of the necessary components:
Primary Ingredients:
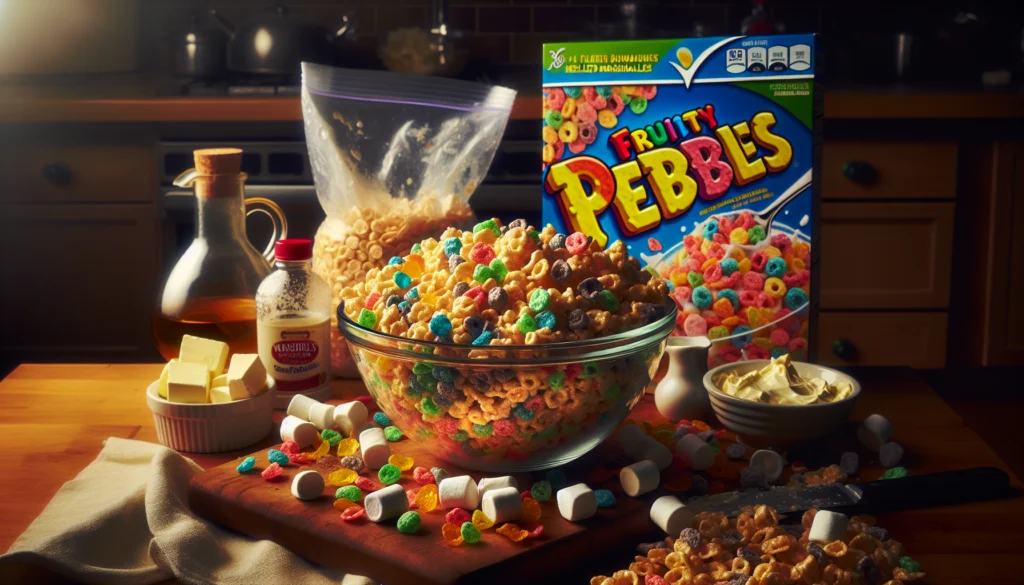
- Fruity Pebbles Cereal: You will need 9 cups (approximately 300g). You can choose either the name brand or a store brand, depending on availability and preference.
- Marshmallows: Opt for 15 ounces (425g) of mini marshmallows for even melting. Fresh marshmallows are recommended for the best texture and flavor.
- Butter: 8 tablespoons (113g) of unsalted butter are required. You can substitute with salted butter or margarine, but unsalted butter is preferred for controlling the saltiness of the treats.
Additional Flavor Enhancers:
- Vanilla Extract: 1 teaspoon to add depth to the treat’s flavor. Both pure and imitation vanilla extract work, but pure is preferred for a richer taste.
- Sea Salt: A pinch of fine grain sea salt can be used to balance the sweetness.
Optional Ingredients for Texture Variation:
- Rice Krispies Cereal: Incorporating 2 cups can provide a subtle texture contrast and tone down the intense sweetness of the Fruity Pebbles.
Preparation Tips:
- Marshmallow Options: You can use either regular or mini marshmallows. If using regular, ensure they are cut into smaller pieces for uniform melting.
- Butter Tips: If using salted butter, you might want to omit additional salt to avoid overly salty treats.
- Melting Technique: For melting the butter and marshmallows, use low heat to avoid burning. Stir consistently for a smooth mixture.
Gathering these ingredients will set the foundation for making delicious and colorful fruity pebble rice crispy treats that are perfect for any gathering or snack time.
Preparing Your Baking Pan
To ensure your fruity pebble rice crispy treats come out perfectly and are easy to remove and serve, proper preparation of your baking pan is essential. Here’s how to prepare various types of pans for this delightful treat:
Standard Rectangular Pan (9×13-inch) Preparation:
- Grease the Pan: Begin by spraying the pan with non-stick cooking spray. This creates a layer that prevents the treats from sticking, making removal straightforward.
- Line with Parchment Paper: For added assurance, line the pan with parchment paper. Leave an overhang on the sides to lift the treats out easily once set.
- Prepare the Spatula: Spray your spatula with non-stick spray as well. This tool is used for spreading the mixture evenly and will prevent it from sticking to the spatula.
Alternative Pan Options and Preparations:
- Glass Baking Dish (13×9 inch): Similar to the rectangular pan, grease with cooking spray and line with aluminum foil, ensuring there are 2-3 inches of overhang for easy lifting.
- Square Baking Dish (9-inch): Coat with non-stick spray or butter and line with parchment paper to prevent the mixture from sticking.
- Cookie Sheet (Half Sheet Pan): Grease with butter or apply non-stick foil to the bottom for a thin, even layer of treats.
Additional Tips for Handling the Mixture:
- Pressing the Mixture: To avoid a sticky situation when pressing the mixture into the pan, place a Ziplock bag over your hand, spray the outside with non-stick spray, and then press down. This keeps your hands clean and the treats even.
- Using a Buttered Spatula or Waxed Paper: For an even press and smooth surface, use a buttered spatula or a piece of waxed paper to press down the mixture in the pan. This technique helps in achieving a flat and uniform layer of treats.
By properly preparing your baking pan and using these techniques, you ensure that your fruity pebble rice crispy treats not only taste great but also look appealing and are easy to serve.
Melting Butter and Marshmallows
To achieve the perfect gooey consistency for your fruity pebble rice crispy treats, melting the butter and marshmallows correctly is crucial. Follow these detailed steps to ensure a smooth and well-combined mixture:
- Melting the Butter and Marshmallows:
- Step 1: Begin by melting 6 tablespoons of salted butter in a large pot or saucepan over medium-low heat. This gentle heating helps prevent the butter from burning.
- Step 2: Once the butter is fully melted, add 8-9 cups of mini marshmallows to the pot, reserving about 1 cup for later use. Stir the marshmallows continuously to avoid sticking to the bottom of the pot.
- Step 3: Reduce the heat to low and continue stirring until the marshmallows are completely melted and the mixture is smooth. This may take a few minutes, so patience is key.
- Incorporating Flavor Enhancers:
- Step 4: With the heat turned off, swiftly stir in 1 teaspoon of vanilla extract. This not only adds depth to the flavor but also combines nicely with the melted marshmallows and butter.
- Final Touches Before Mixing with Cereal:
- Step 5: After ensuring the marshmallow mixture is smooth and off the heat, it’s ready to be mixed with the Fruity Pebbles. This step should be done promptly to prevent the mixture from hardening.
By following these steps, you ensure that the marshmallow and butter blend is perfectly prepared for the next stage of mixing in the Fruity Pebbles cereal. This method helps maintain the delightful gooey texture that makes fruity pebbles rice crispy treats so irresistible.
Mixing in Fruity Pebbles and Pressing the Mixture
After successfully melting the butter and marshmallows, it’s time to mix in the Fruity Pebbles and prepare the mixture for setting. Here’s how to proceed:
Mixing and Combining Ingredients
- Add the Cereal: Pour 9 cups of Fruity Pebbles into the smooth marshmallow mixture. If you’re aiming for a varied texture, consider adding 6 cups of Rice Krispies along with the remaining 1 cup of marshmallows.
- Thorough Mixing: Stir the mixture gently yet thoroughly to ensure every piece of cereal is evenly coated with the marshmallow mixture. This step is crucial to achieve the signature gooey texture of the treats.
- Additional Flavorings: At this point, you can also fold in any extra ingredients such as chocolate chips or sprinkles for added color and flavor.
Pressing the Mixture into the Pan
- Prepare the Baking Dish: Transfer the well-mixed cereal and marshmallow blend into a greased 9×13-inch baking dish. You can use a dish lined with parchment paper or aluminum foil for easier removal.
- Even Out the Surface: Using a spatula or wax paper that’s been lightly buttered, press down on the mixture evenly. Ensure it’s compact and smooth, filling out the corners and sides of the dish.
- Set and Cool: Allow the pressed mixture to cool at room temperature. This will help it set properly and make cutting into bars easier. Avoid refrigerating as it might cause the treats to harden too much.
Tips for Perfect Consistency
- Avoid Over-Pressing: While it’s important to press the mixture firmly to avoid crumbly bars, over-pressing can make them too hard. A gentle yet firm touch is key.
- Wet Hands for Pressing: If you don’t have wax paper or a buttered spatula, slightly wet your hands and press the mixture into the pan. This prevents sticking and helps achieve a smooth surface without added grease.
By following these steps, your fruity pebble rice crispy treats will be colorful, delicious, and ready to delight anyone who tries them. Remember to let the mixture cool completely before slicing to ensure clean cuts and beautiful presentation.
Decoration and Serving Suggestions
To elevate the visual appeal and taste of your fruity pebble rice crispy treats, consider these creative decoration and serving suggestions:
Decoration Ideas:
- Sprinkles and Glitters:
- Add colorful sprinkles or edible glitter to the treats before they set to make them sparkle, perfect for festive occasions or children’s parties.
- For themed events, opt for specific shapes like heart-shaped sprinkles for Valentine’s Day or star-shaped for Christmas celebrations.
- Chocolate and Caramel Drizzle:
- Once the treats have cooled, drizzle melted chocolate or caramel over the top for a delicious flavor boost and an attractive finish.
- Consider using white chocolate dyed with food coloring for a more vibrant look that complements the colorful cereal.
- Edible Decorations:
- Embellish the treats with small edible flowers or sugar pearls to enhance their elegance, ideal for showers or sophisticated gatherings.
- For a unique twist, press some Fruity Pebbles into a large mold before adding melted chocolate, creating a visually striking and tasty coating.
Cutting and Serving:
- Shapes and Sizes:
- Cut the treats into classic squares or rectangles, or use cookie cutters to create shapes like stars, hearts, or circles for a fun variety.
- Serve these shapes on a platter or a decorative tray, arranging them aesthetically to entice guests.
- Storage Tips:
- Store the bars in an airtight container at room temperature to maintain freshness, ideally consumed within three days.
- For longer storage, layer the treats between wax paper in an airtight container and freeze for up to 6 weeks, ensuring they’re thawed at room temperature before serving.
These creative tips not only enhance the visual appeal of the fruity pebble rice crispy treats but also add delightful flavors and textures, making them irresistible for any occasion. Whether it’s a casual snack or a special event, these treats are sure to impress both visually and gastronomically.
FAQs
Q: How can I prevent my homemade Rice Krispie treats from becoming too hard?
A: To avoid hard Rice Krispie treats, melt the marshmallows and butter slowly. Rushing this process can make the treats hard and crunchy instead of soft and chewy. Additionally, using an 8×8 inch or a smaller, deeper pan can help achieve a thicker, chewier texture.
Q: What should I do if my Rice Krispie treats won’t set?
A: If your Rice Krispie treats are too soft and won’t harden, allow them to cool to room temperature before attempting to cut them. If they still don’t set, it’s likely that there wasn’t enough cereal in the mix. Although the mixture may appear soft and gooey initially, it should firm up once it sets in the baking dish.
Q: How can I enhance the flavor of Rice Krispie cereal treats?
A: To add a delicious twist to your Rice Krispie treats, consider mixing in peanut butter. It not only binds the ingredients well but also adds a delightful salty-sweet flavor. For chocolate and peanut butter enthusiasts, using chocolate-flavored cereal can provide an extra flavorful kick.
Q: What are the ingredients in Fruity Pebbles cereal?
A: Fruity Pebbles cereal contains rice, sugar, hydrogenated vegetable oil (including coconut and palm kernel oils), salt, and less than 0.5% of natural and artificial flavors. It also includes color additives such as Red 40, Yellow 6, Turmeric Oleoresin, Blue 1, Yellow 5, Blue 2, and BHA to help protect the flavor.